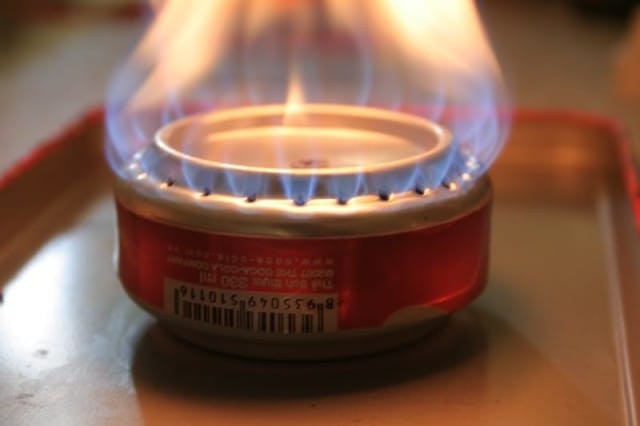
#5 What You'll Need
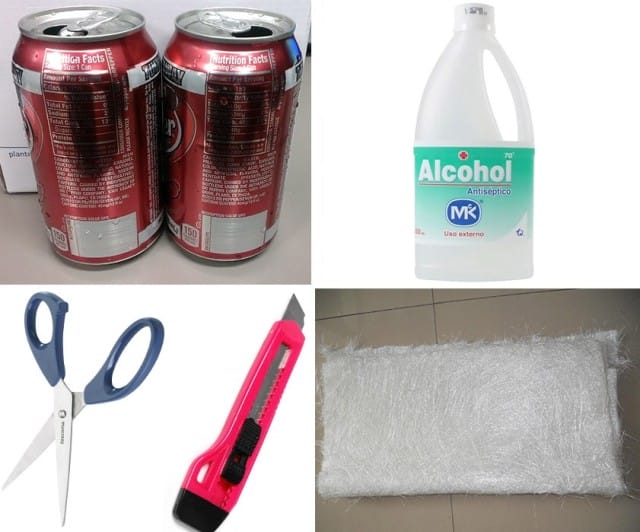
Welcome to the tutorial of the day! Here's what you're going to need to make this happen, and trust me, you're going to want to make it happen! So here goes, this is your shopping list:
- 2 aluminum cans of any soft drink
- 1 marker
- A pair of scissors or a cutter
- 1 small sandpaper
- 1 nail
- Alcohol
- Fiberglass
Keep reading to find out what to do with them!
#4 Mark It Up!
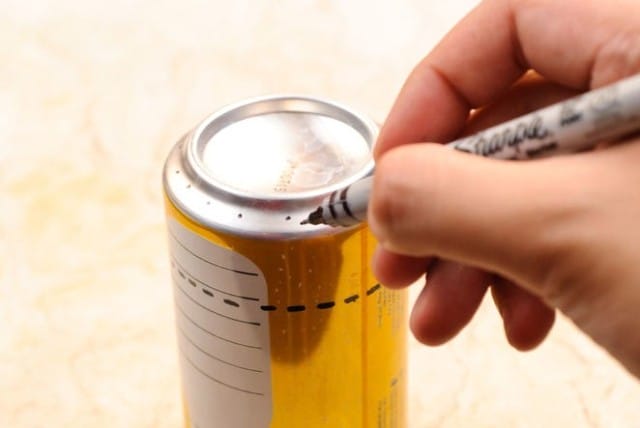
Take the first can and your marker. Mark it up like this - look at the picture. Just above the bottom, make a dotted line along the circumference.
Then make little dots at the bottom. Let the dots be equally spaced out from each other.
Then...
#3 Cut 'em Up!
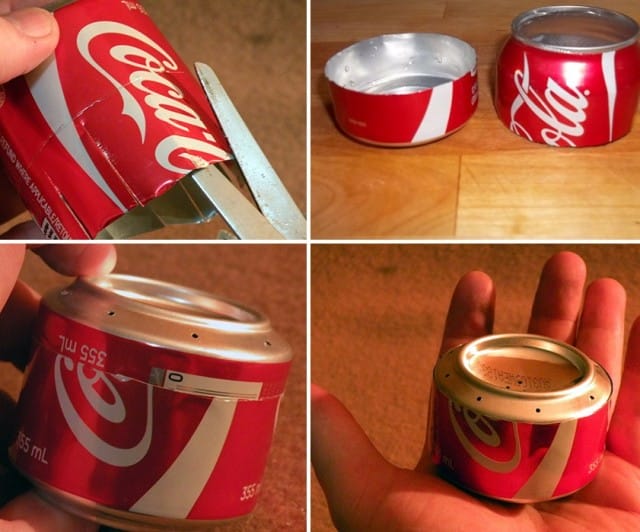
The cut your second can up from the bottom part just like we did the first one, but don't make no holes in this one. This one's going to serve as your base for the stove.
Merge them up like you see in the picture, and then punch a hole into the top middle. That's going to be your inlet.
And then...
#2 Fill It Up!
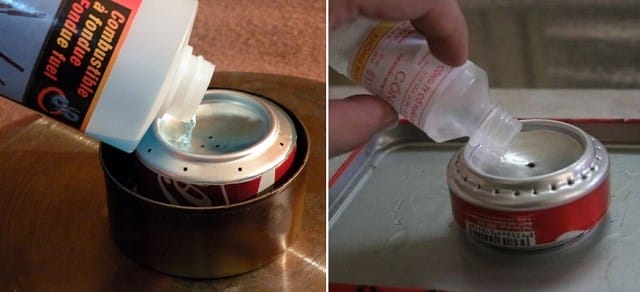
This is your final step. Fill up the concave cavity with fuel and you're almost there! Make sure you keep it down on stable surface before pouring in to avoid spillage. You don't want to waste fuel when you're out camping.
And the result is going to look something like this...
#1 Light It Up!
And then finally, all you got to do is light it up! Light it up and it will cook your food for you! Cool right?
Who says technology was complicated? We're here to make it simple for you. Keep coming back for more such uber-cool tricks!